
Every year I make Easter cards and share a delightful tutorial for you on you can make your own DIY Easter Cards. Except this year, when I woke up this morning and was like “Right. Easter. This weekend. Didn’t send out cards.” Then I asked the kids if they wanted to make something when they woke up and they said, “Mom we have school.” Noted.
I could have bought cards but there’s a voice in my head that just does not let me do that, which for the record drives me insane.
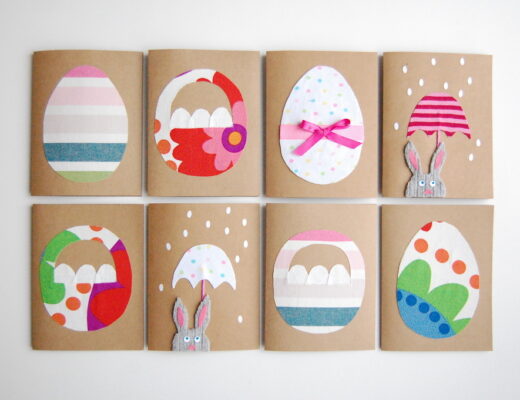
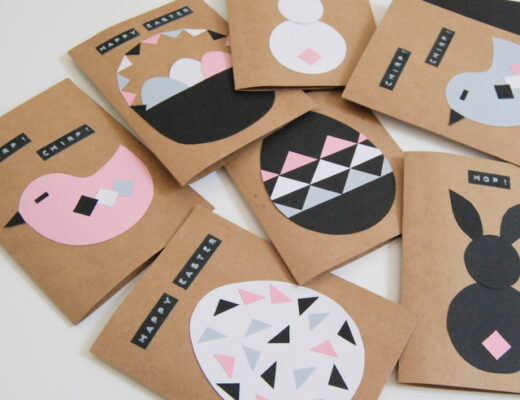
Case in point here are the Easter Cards from previous years:
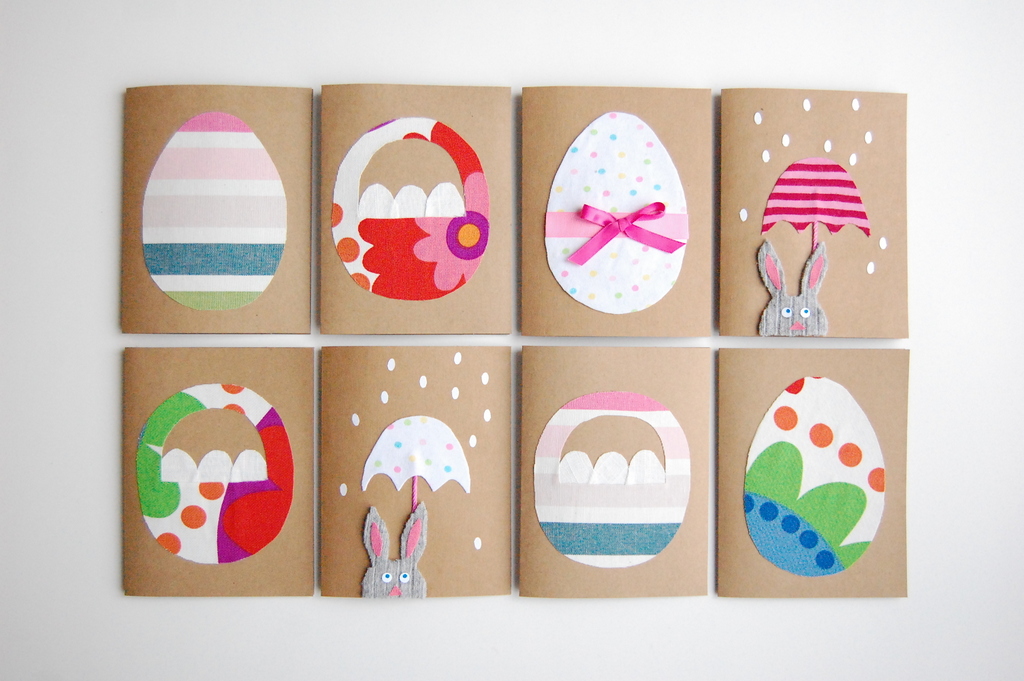
Fabric Easter Cards
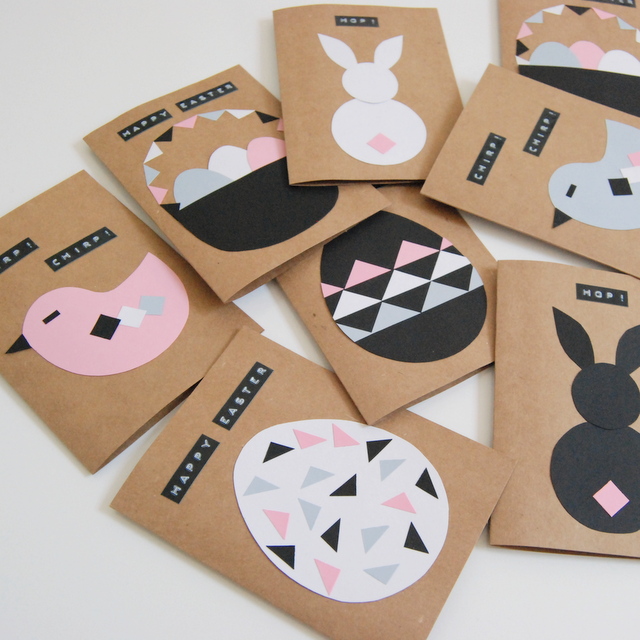
Modern Easter Cards
So insert 30 minutes worth of crafting and I made the cards below. And you too can make them. I can’t promise mail delivery on time but that’s another story. Feel free to blame me when your cards arrive late even though your family has no idea who I am.
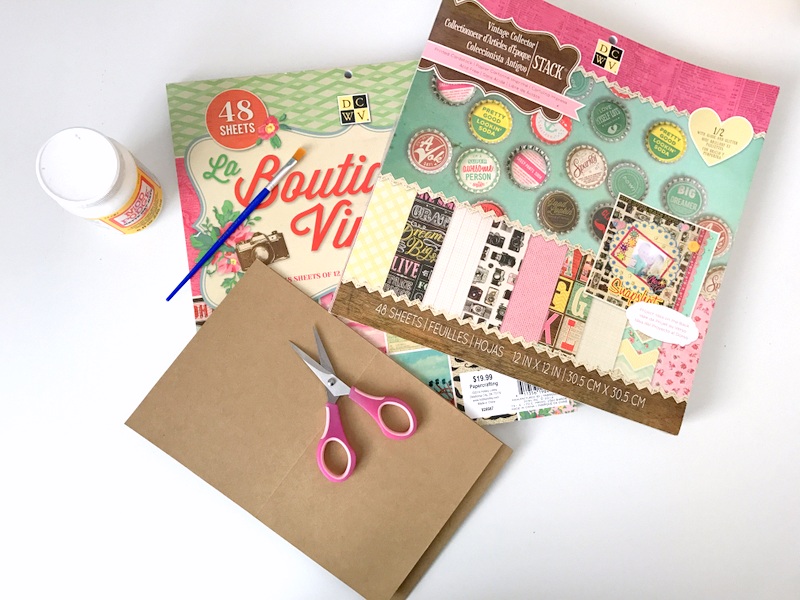
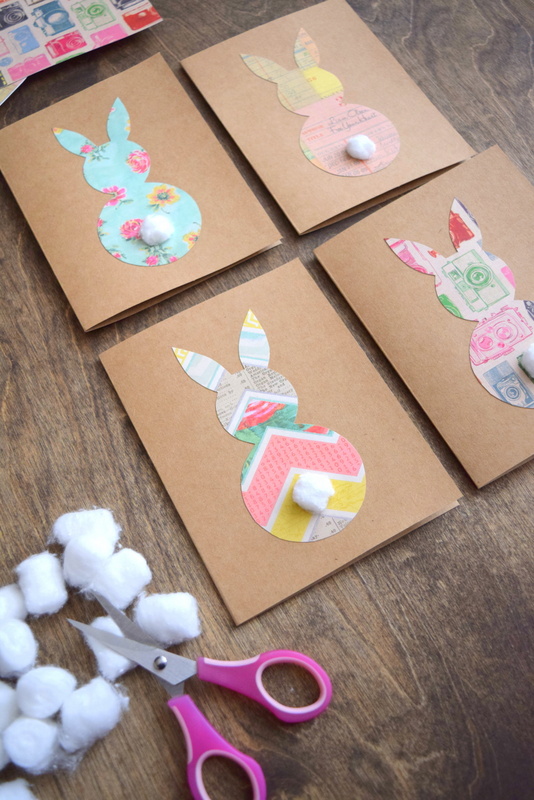
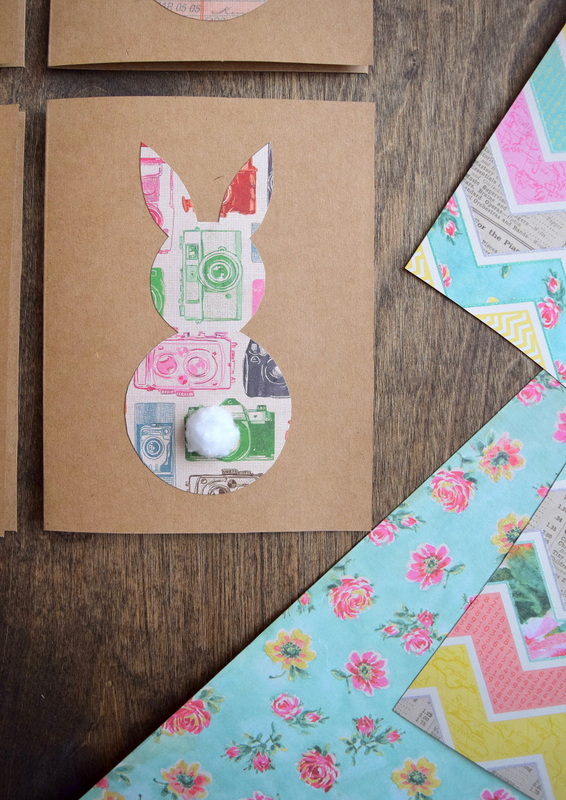
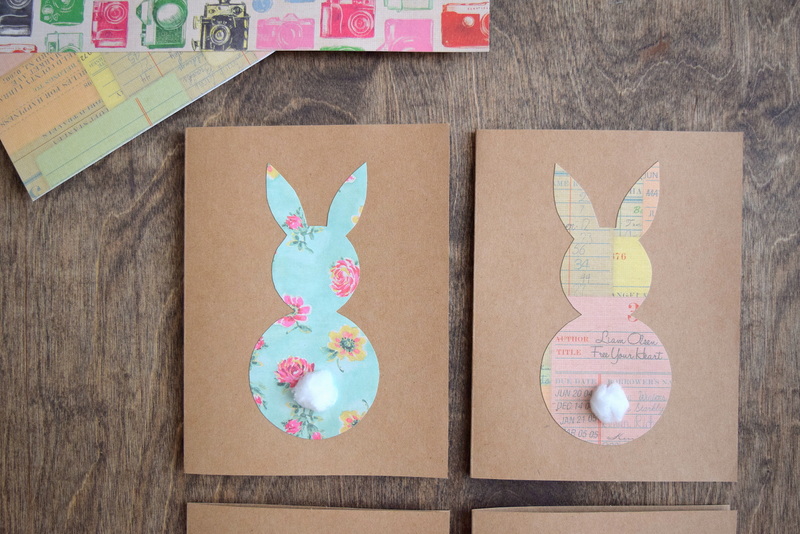
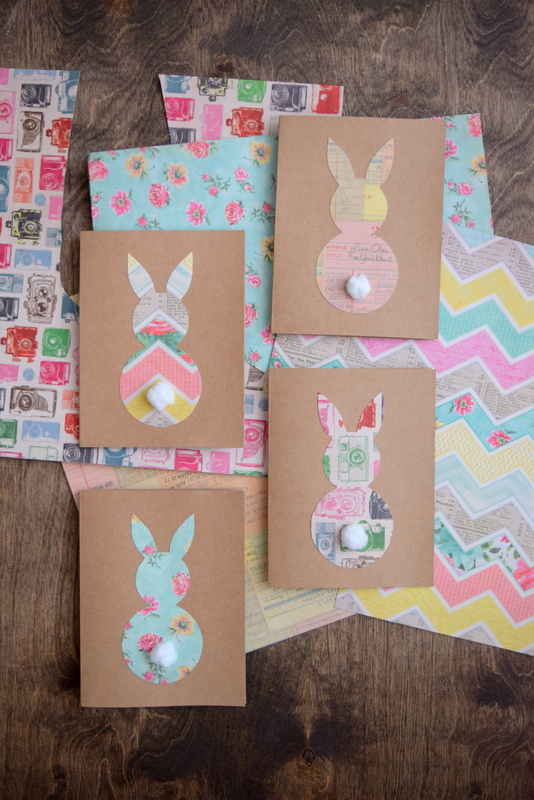
DIY Easter Cards made with Vintage print Cardstock
Here’s what you need:
-
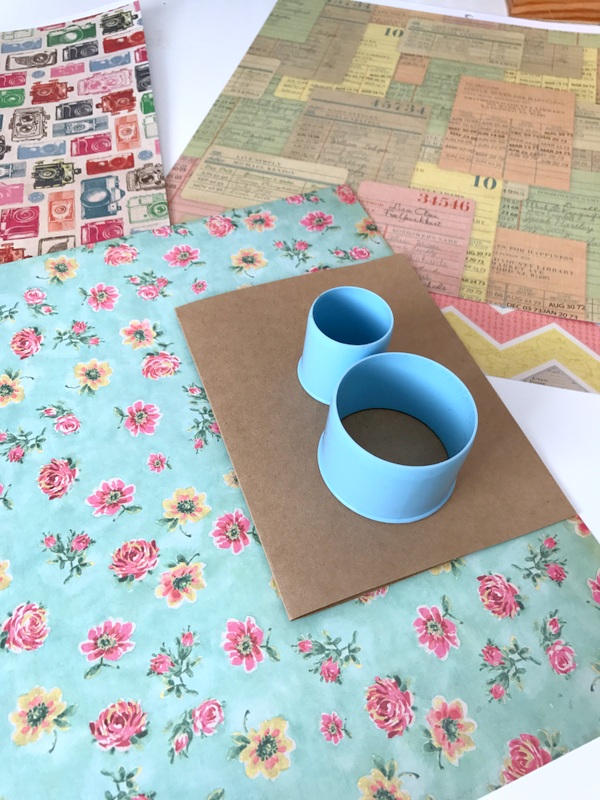
- DCVW patterned vintage collector card stock
- Kraft paper cards
- Mod Podge
- Paint Brush
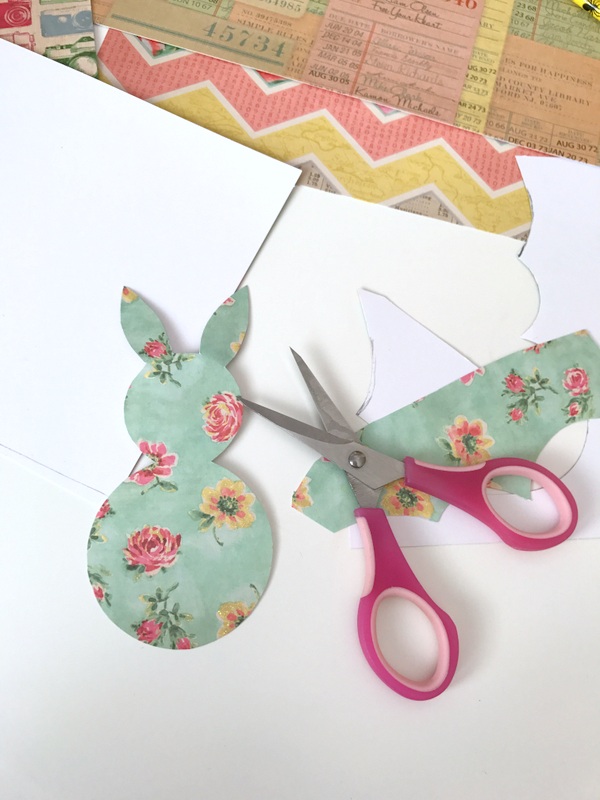
- Sharp precision point end scissors (to cut into the little crevices of your shapes)
- Cotton balls
- Pencil
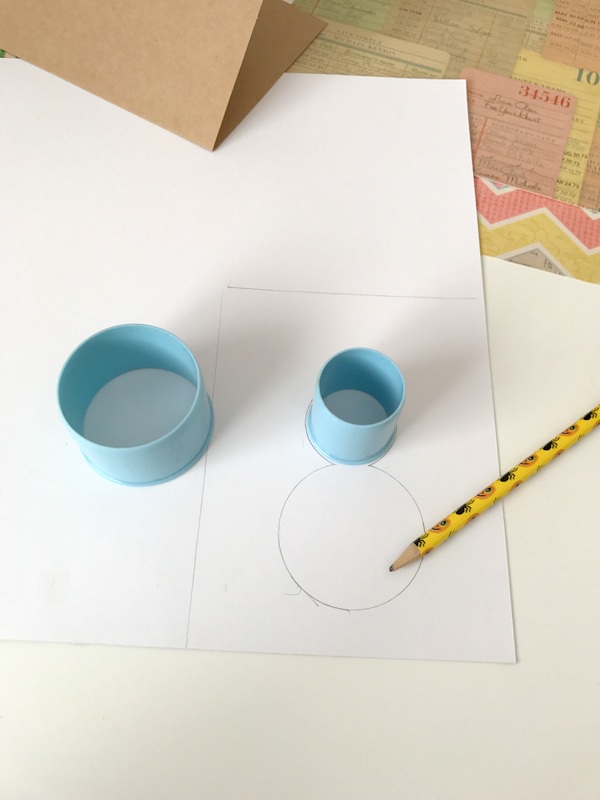
Obviously bunny ears are hand drawn but once you cut out a template for a bunny, you can just trace that onto other card stock. Just remember to trace the bunny on the plain side of the card stock to avoid pencil marks on the printed side.
Glue your bunnies onto the kraft card stock using Mod Podge and glue on a bunny tail – which is a cotton ball. I cut up a cotton ball into 4 small pieces and used one per card.

PS – you know what would make this even easier? Using a Bunny Shaped Cookie cutter:
2 Comments
Grade ONEderful
March 18, 2018 at 12:15 pmI love these! Thanks for sharing.
Easter or Hearts | Wilson's World
April 7, 2020 at 12:37 am[…] Bunny card https://www.northstoryandco.com/diy-easter-cards-vintage/ […]