
I could have sworn I wrote a post about making this Halloween chandelier, given that it was made years ago and I’ve been hanging it on our front porch every Halloween since then. But apparently I did not. Which is a travesty as it is by far and away my favourite Halloween decoration.
This all started in my earlier blogging days, after I befriended the super talented Victoria Elizabeth Barnes – back in the day where we each had free WordPress blogs and before that Kingdom Mirror post made everyone fall in love with her writing as much as I love her writing (seriously just go read her). And one Halloween she decorated her front porch with this breathtaking chandelier. As soon as I saw it, I was like my kids need this in their life. I need a chandelier in my life. On my porch.
And I am not a chandelier kind of girl. Believe me. It’s that good.
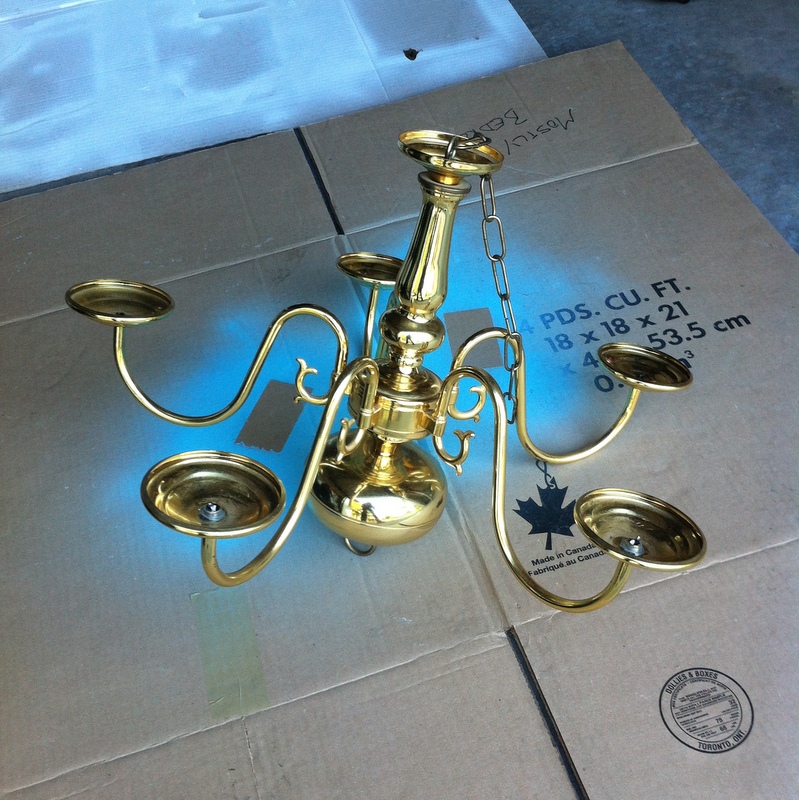
Enter my thrift store obsession. Also back in the day before spray paint and chalk paint were everywhere, there were tons of these chandeliers in thrift stores. Gold. Brass. Unsellable. Looking at today’s copper and gold fixture obsession, it’s still hard to imagine these were once donated.
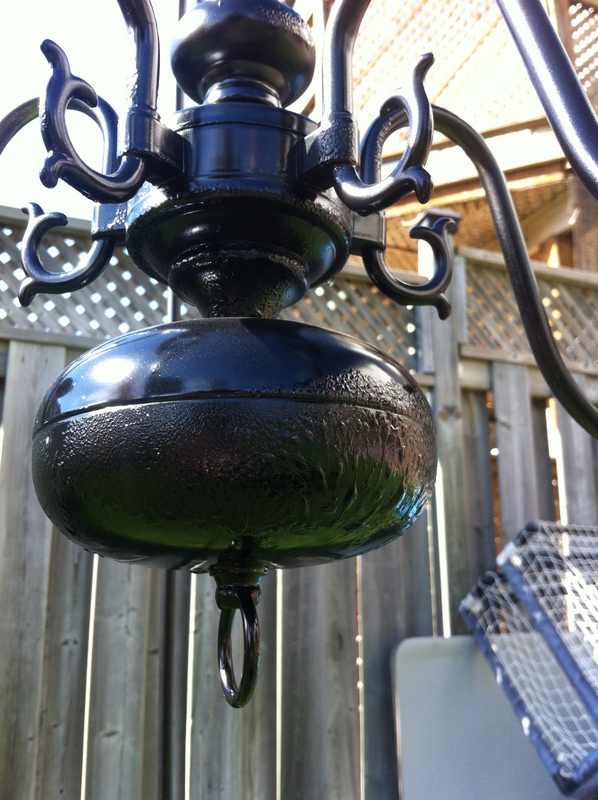
And that I painted this one black. Don’t worry, it was broken and cost me $5 at the Salvation Army. Which leads me to the How To make part of this post.
DIY Halloween Chandelier featuring a thrift store find!
Step 1
Buy an old broken chandelier. Go to a thrift store and find one. They are donated weekly it seems (not necessarily in the gold but they’re still there). Tear off any unworking candles or light bulbs attached to the stems.
Step 2
Spray paint it black
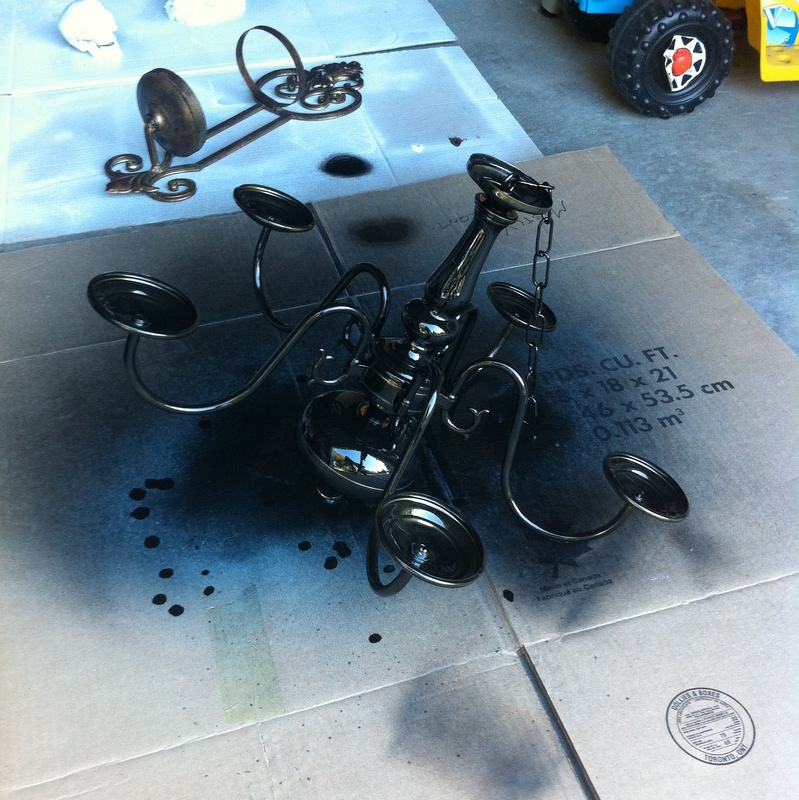
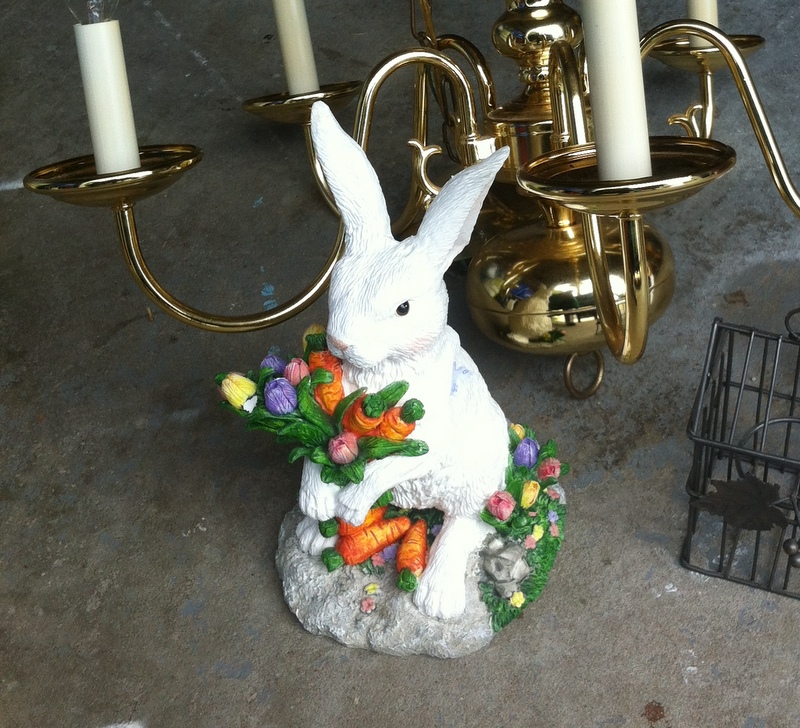
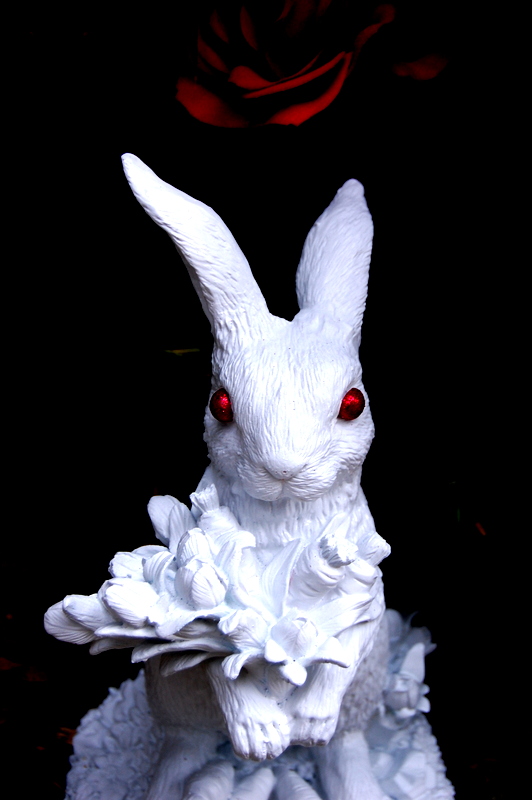
PS – you may during this time also spray an innocent garden bunny to turn into it a gothic nightmare rabbit Halloween decoration.
Step 3
Panic when you screw up your paint job due to poor weather conditions. Yes this happens when you use spray paint in weather that is either too cold or too humid. Or sometimes when the finishing on the existing product you’re spraying it on doesn’t work with the spray paint.
Always use a deglosser like Krud Kutter before painting anything like this.
Step 4
Realize it’s a Halloween decoration and this just adds to the disgusting gory effect that is Halloween and let it go without fixing the problem.
Step 5
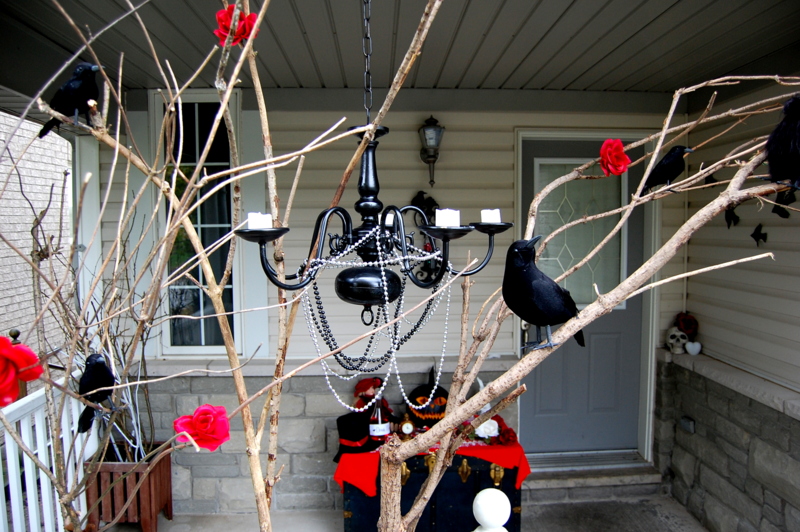
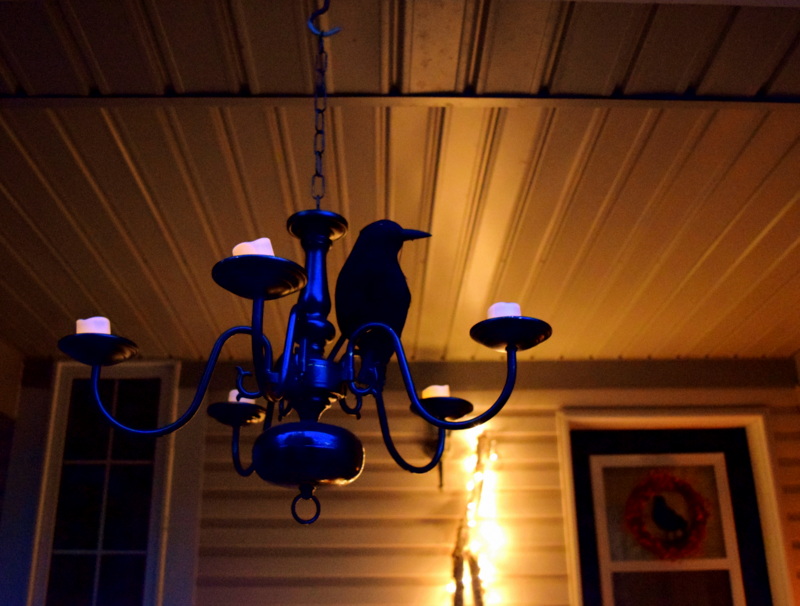
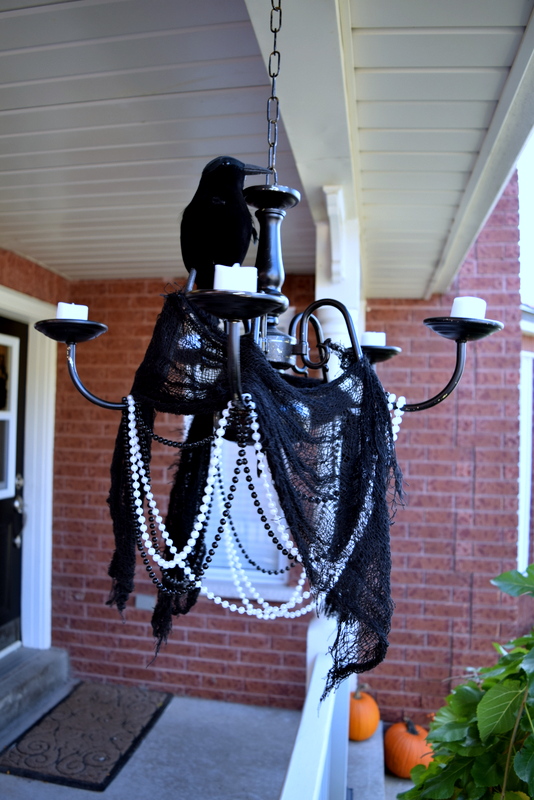
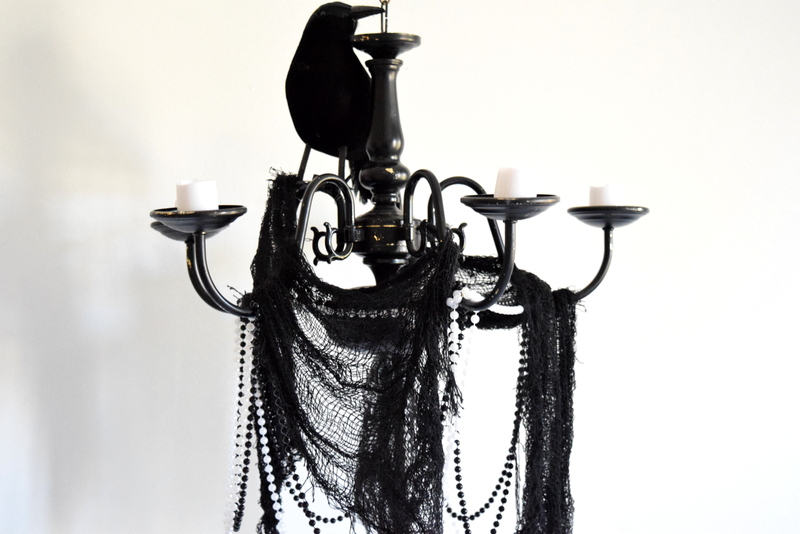
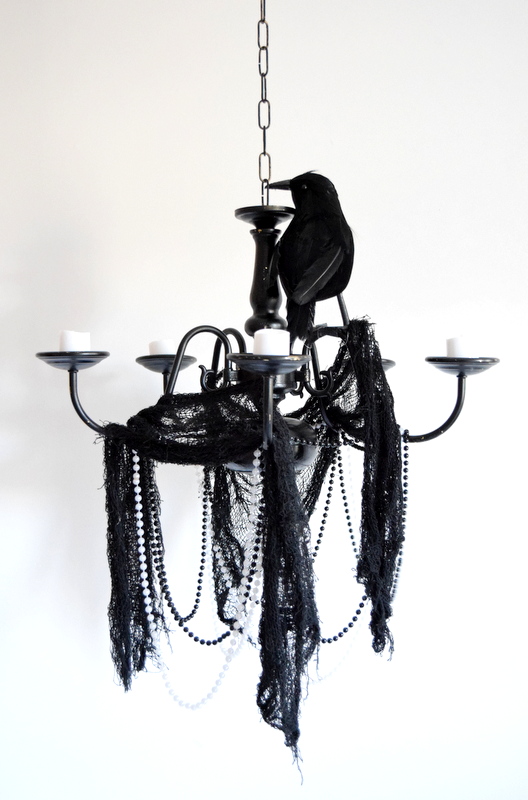
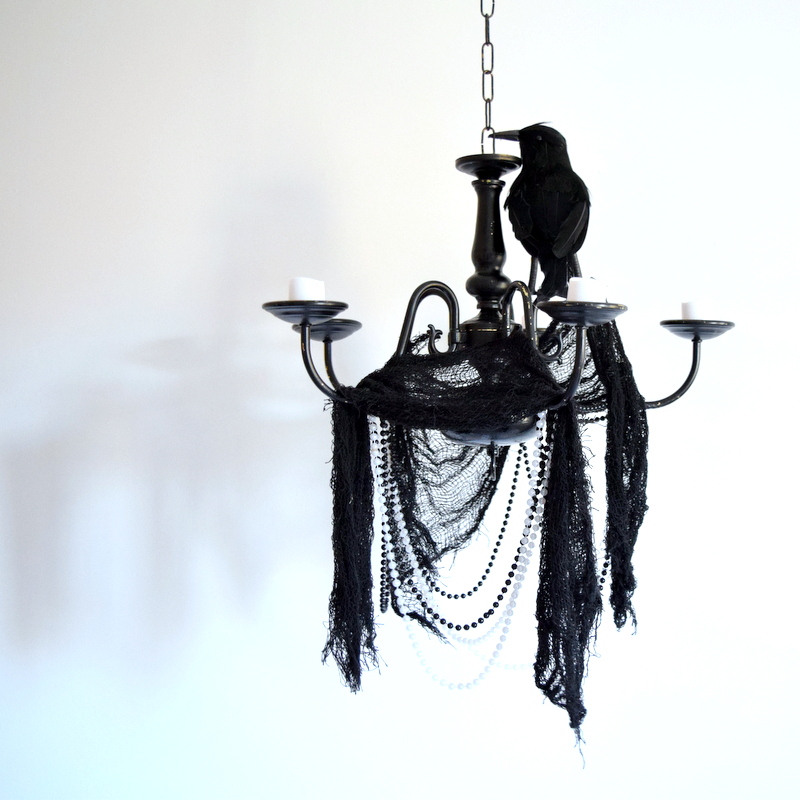
Decorate your DIY Halloween chandelier each year as you wish. Add beads, cheese cloth, black lace, pearls, roses. Add a crow. Add an owl. Add a skull. Whatever fits your decor mood that year.
The first year.
The second year. (It was all about the costumes this year)
And now this year.
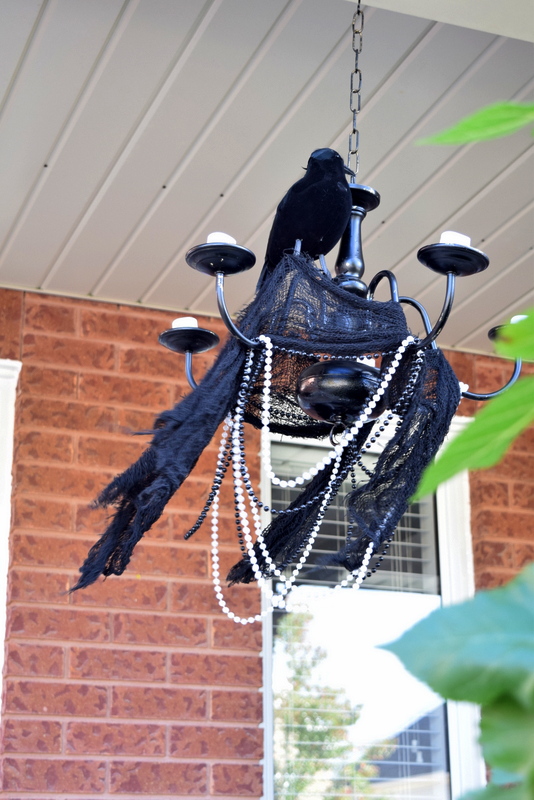
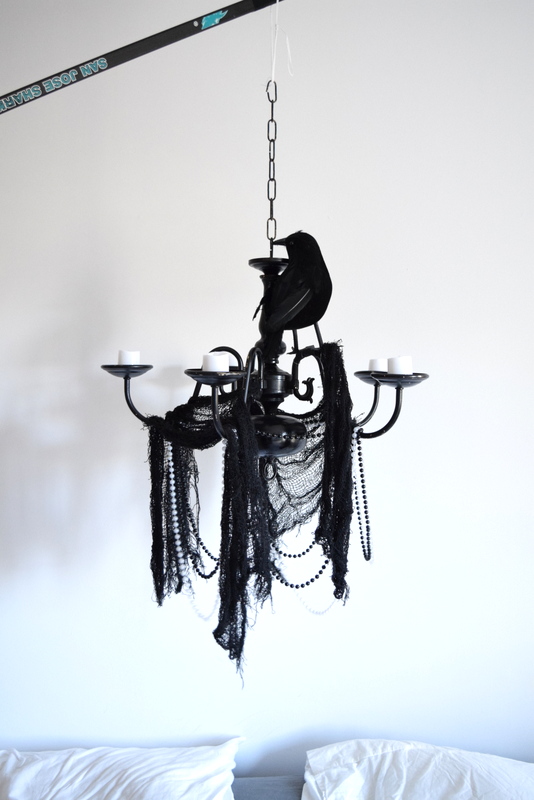
The wind was making it impossible to take photos outside so I took it indoors for a photo shoot.
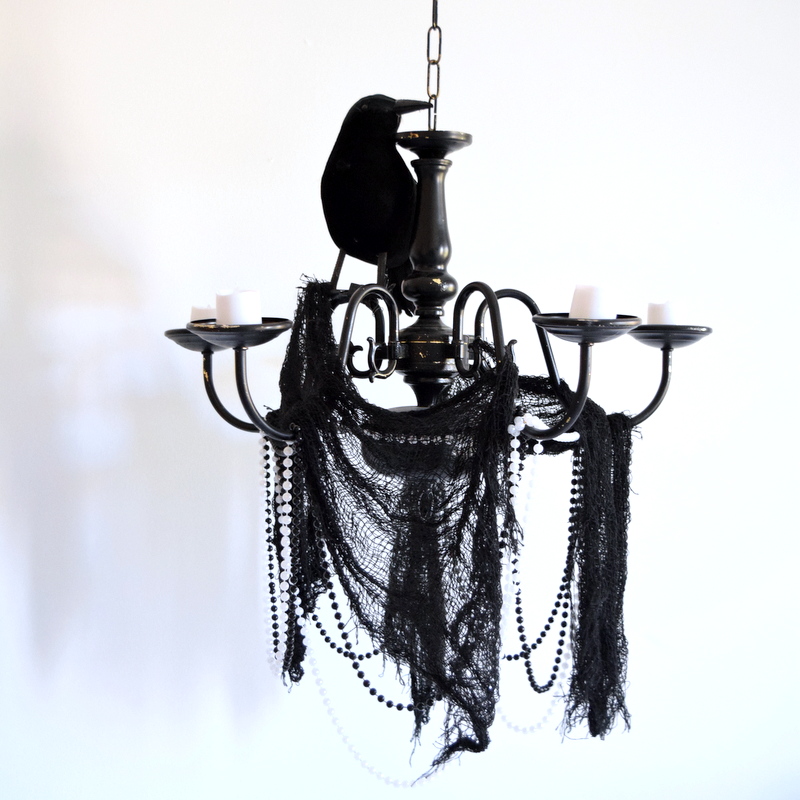
PS – just in case you want the magic of photography ruined, that was my husband holding a hockey stick (I have no idea why that says San Jose Sharks as we’re from Toronto) to help hang the chandelier against the white wall behind our bed.
Just keeping it real.
The most important thing about this project is this. If you decorate it in any way shape or form: DO NOT USE REAL CANDLES ON IT.
Led or battery operated only. Some of you are like “Isn’t this common sense?” You would be amazed at the questions that land in my inbox.
In order to help adhere the LED candles, I used double sided tape.
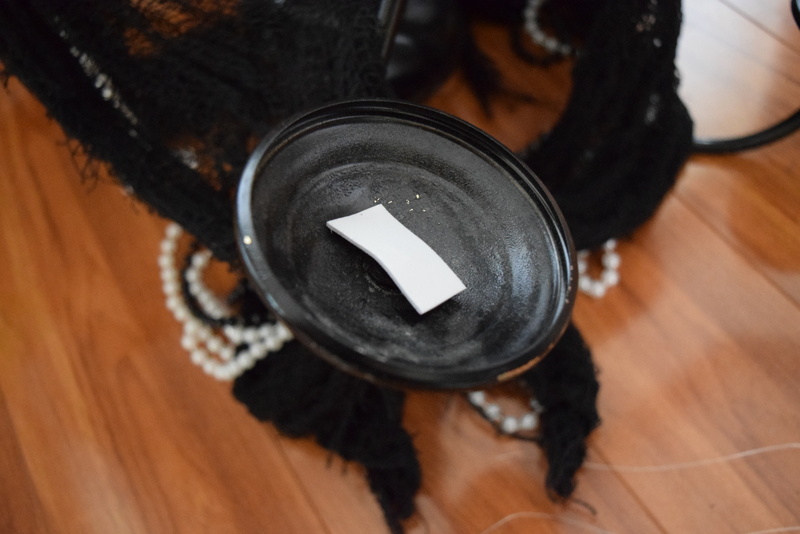
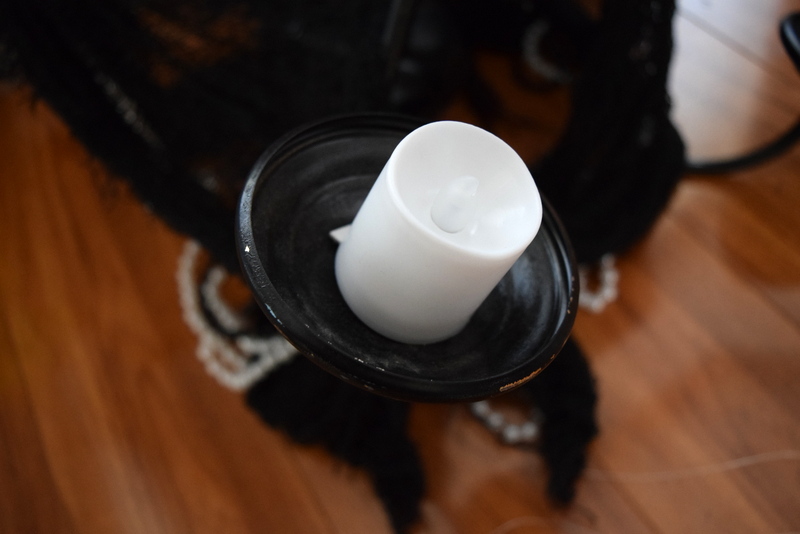
Problem solved. And no unnecessary fires for the sake of vanity Holiday decorations.
It’s showing it’s age now as you can see the tarnished gold under it but that just makes me love it more. And your kids will remind me as often as possible, that it’s time to hang it back up every year. Even if you’re not in the mood to decorate for Halloween. Which is never.

2 Comments
Marcia Carvalho de Souza
October 26, 2016 at 10:20 amSo beuatiful!!!
Jen
September 27, 2017 at 1:24 amLove! Go Sharks!